Installing Odysseyra1n (ChromeOS)
For support in English, ask for help on the r/Jailbreak Discord Server.
DANGER
If you are using iOS 12.0 or 12.0.1, do not continue to follow this guide. Instead, join the r/jailbreak Discord, and ping the Geniuses role with your device/iOS version.
WARNING
If you are using a computer with an AMD Ryzen CPU, you will likely run into issues. If you do run into issues, you should use a Mac or a computer with an Intel CPU to follow this guide.
WARNING
If you are using a USB-C to Lightning cable to do this process, you may run into issues entering into DFU mode
If you do have issues, get a USB-A to Lightning cable and, if necessary, also get a USB-C to USB-A adapter.
WARNING
A7 devices will likely fail to successfully jailbreak with checkra1n on Linux, as a result, you'll need to use an older checkra1n version and quickly unplug and replug your device once you see Right Before Trigger
DANGER
This is a highly experimental guide page, there may be things not directly mentioned that need to be done in order to follow this. As a result, we highly recommend getting another type of computer instead if possible.
TIP
You need to have enabled developer mode on your ChromeOS device to follow this
Downloads (ChromeOS)
- The latest release of checkra1n

Allowing checkra1n to run
- Move the checkra1n binary which is downloaded to
/usr/local/bin- This can be done by doing the following:
- press
Ctrl+Alt+T - run
shell - run
mv ~/Downloads/checkra1n /usr/local/bin/
- press
- This can be done by doing the following:
- Run the following command in terminal:
sudo mount -o remount,exec /tmp- You'll need to do this every single time you reboot your ChromeOS device
- Every time you need to jailbreak in ChromeOS, you need to plug in your device, and enter Recovery Mode manually.
Installing checkra1n
- Run the
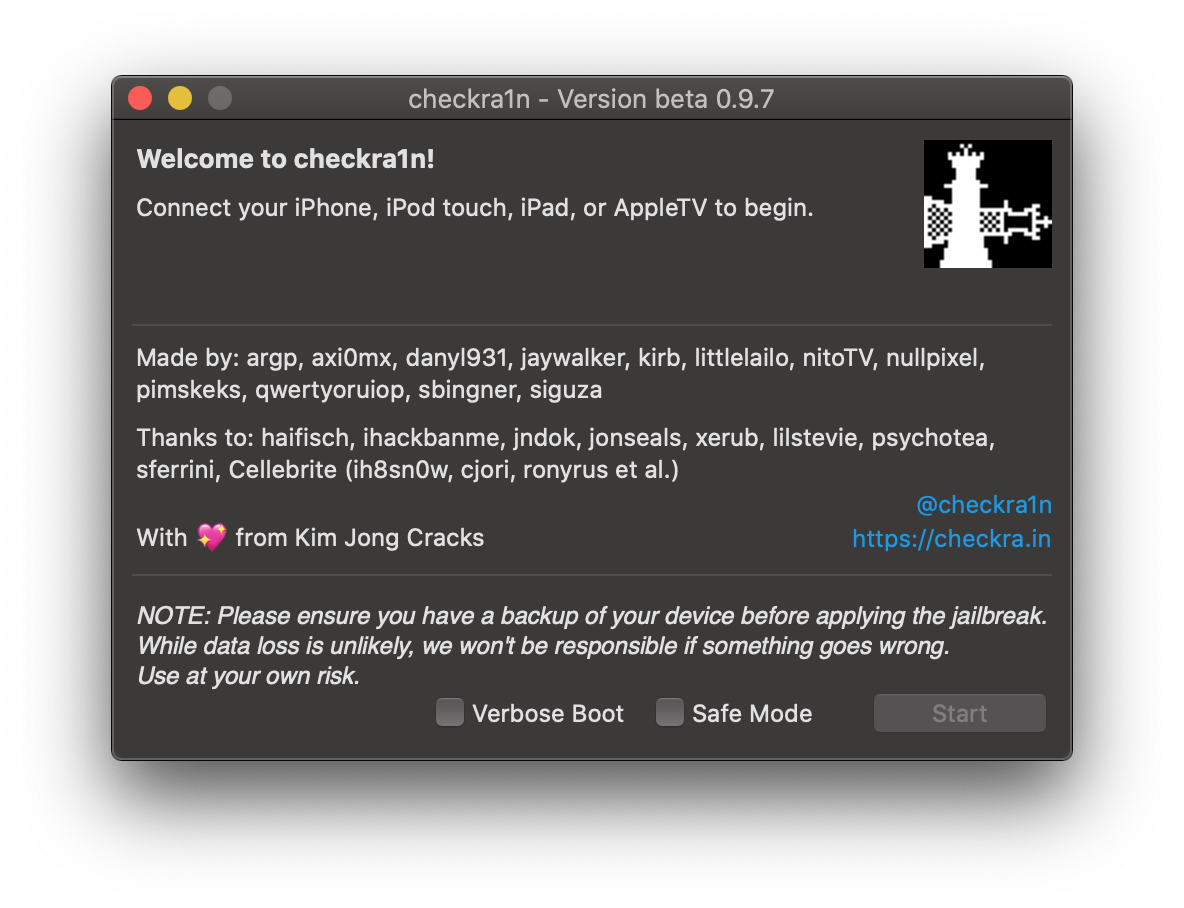
checkra1nbinary in the terminal usingTERM=linux sudo checkra1n- You may need to run
sudo chmod a+x /usr/local/bin/checkra1nif the binary doesn't run - If you're on an A11 device, you will need to head into
Options, then enable theSkip A11 BPR Checkoption once it runs - If you're on iOS 14.6 or later, you will need to head into
Options, then enable theAllow Untested Versionsoption once it runs - If you're on an A8X or A9X device and are on iOS 14.4 to 14.4.2, you will need to head into
Options, then enable theAllow Untested Versionsoption once it runs
- You may need to run
- Click
Startand follow all onscreen prompts - You will now be presented with instructions in how to reboot your device into DFU mode, click
Startto begin- Follow the instructions until your device shows a black screen
- After this, checkra1n should automatically install
Your iOS device should now reboot.
TIP
While you could, at this stage, install Cydia instead of continuing with the Odysseyra1n steps, we don't recommend it because of the fact that:
- People generally tend to have more stability when using Odysseyra1n instead of installing Cydia
- Certain ease-of-use functionality (such as shshd, which automatically saves blobs for you when jailbroken) is not available
- Some tweaks may require or be better tested with software that Odysseyra1n utilizes, rather than the software that is used when you choose to install Cydia
The Odysseyra1n script
- Open this page (ios.cfw.guide/installing-odysseyra1n-chromeos) on your device by typing this URL into Safari
- Click on this hyperlink on your device, and press `Get Shortcut
- If needed, download the Shortcuts app.
- When prompted, choose
Open - If necessary, press the
Procursus Bootstrapericon, then press the Play icon. - Press OK to any prompts which do come up
TIP
If prompted about an untrusted shortcut, run another shortcut, then open Settings, go to Shortcuts, and then toggle Allow Untrusted Shortcuts
You should now be jailbroken with Sileo installed on your home screen. You can use Sileo to install tweaks, themes, packages and more.